The Frontend#

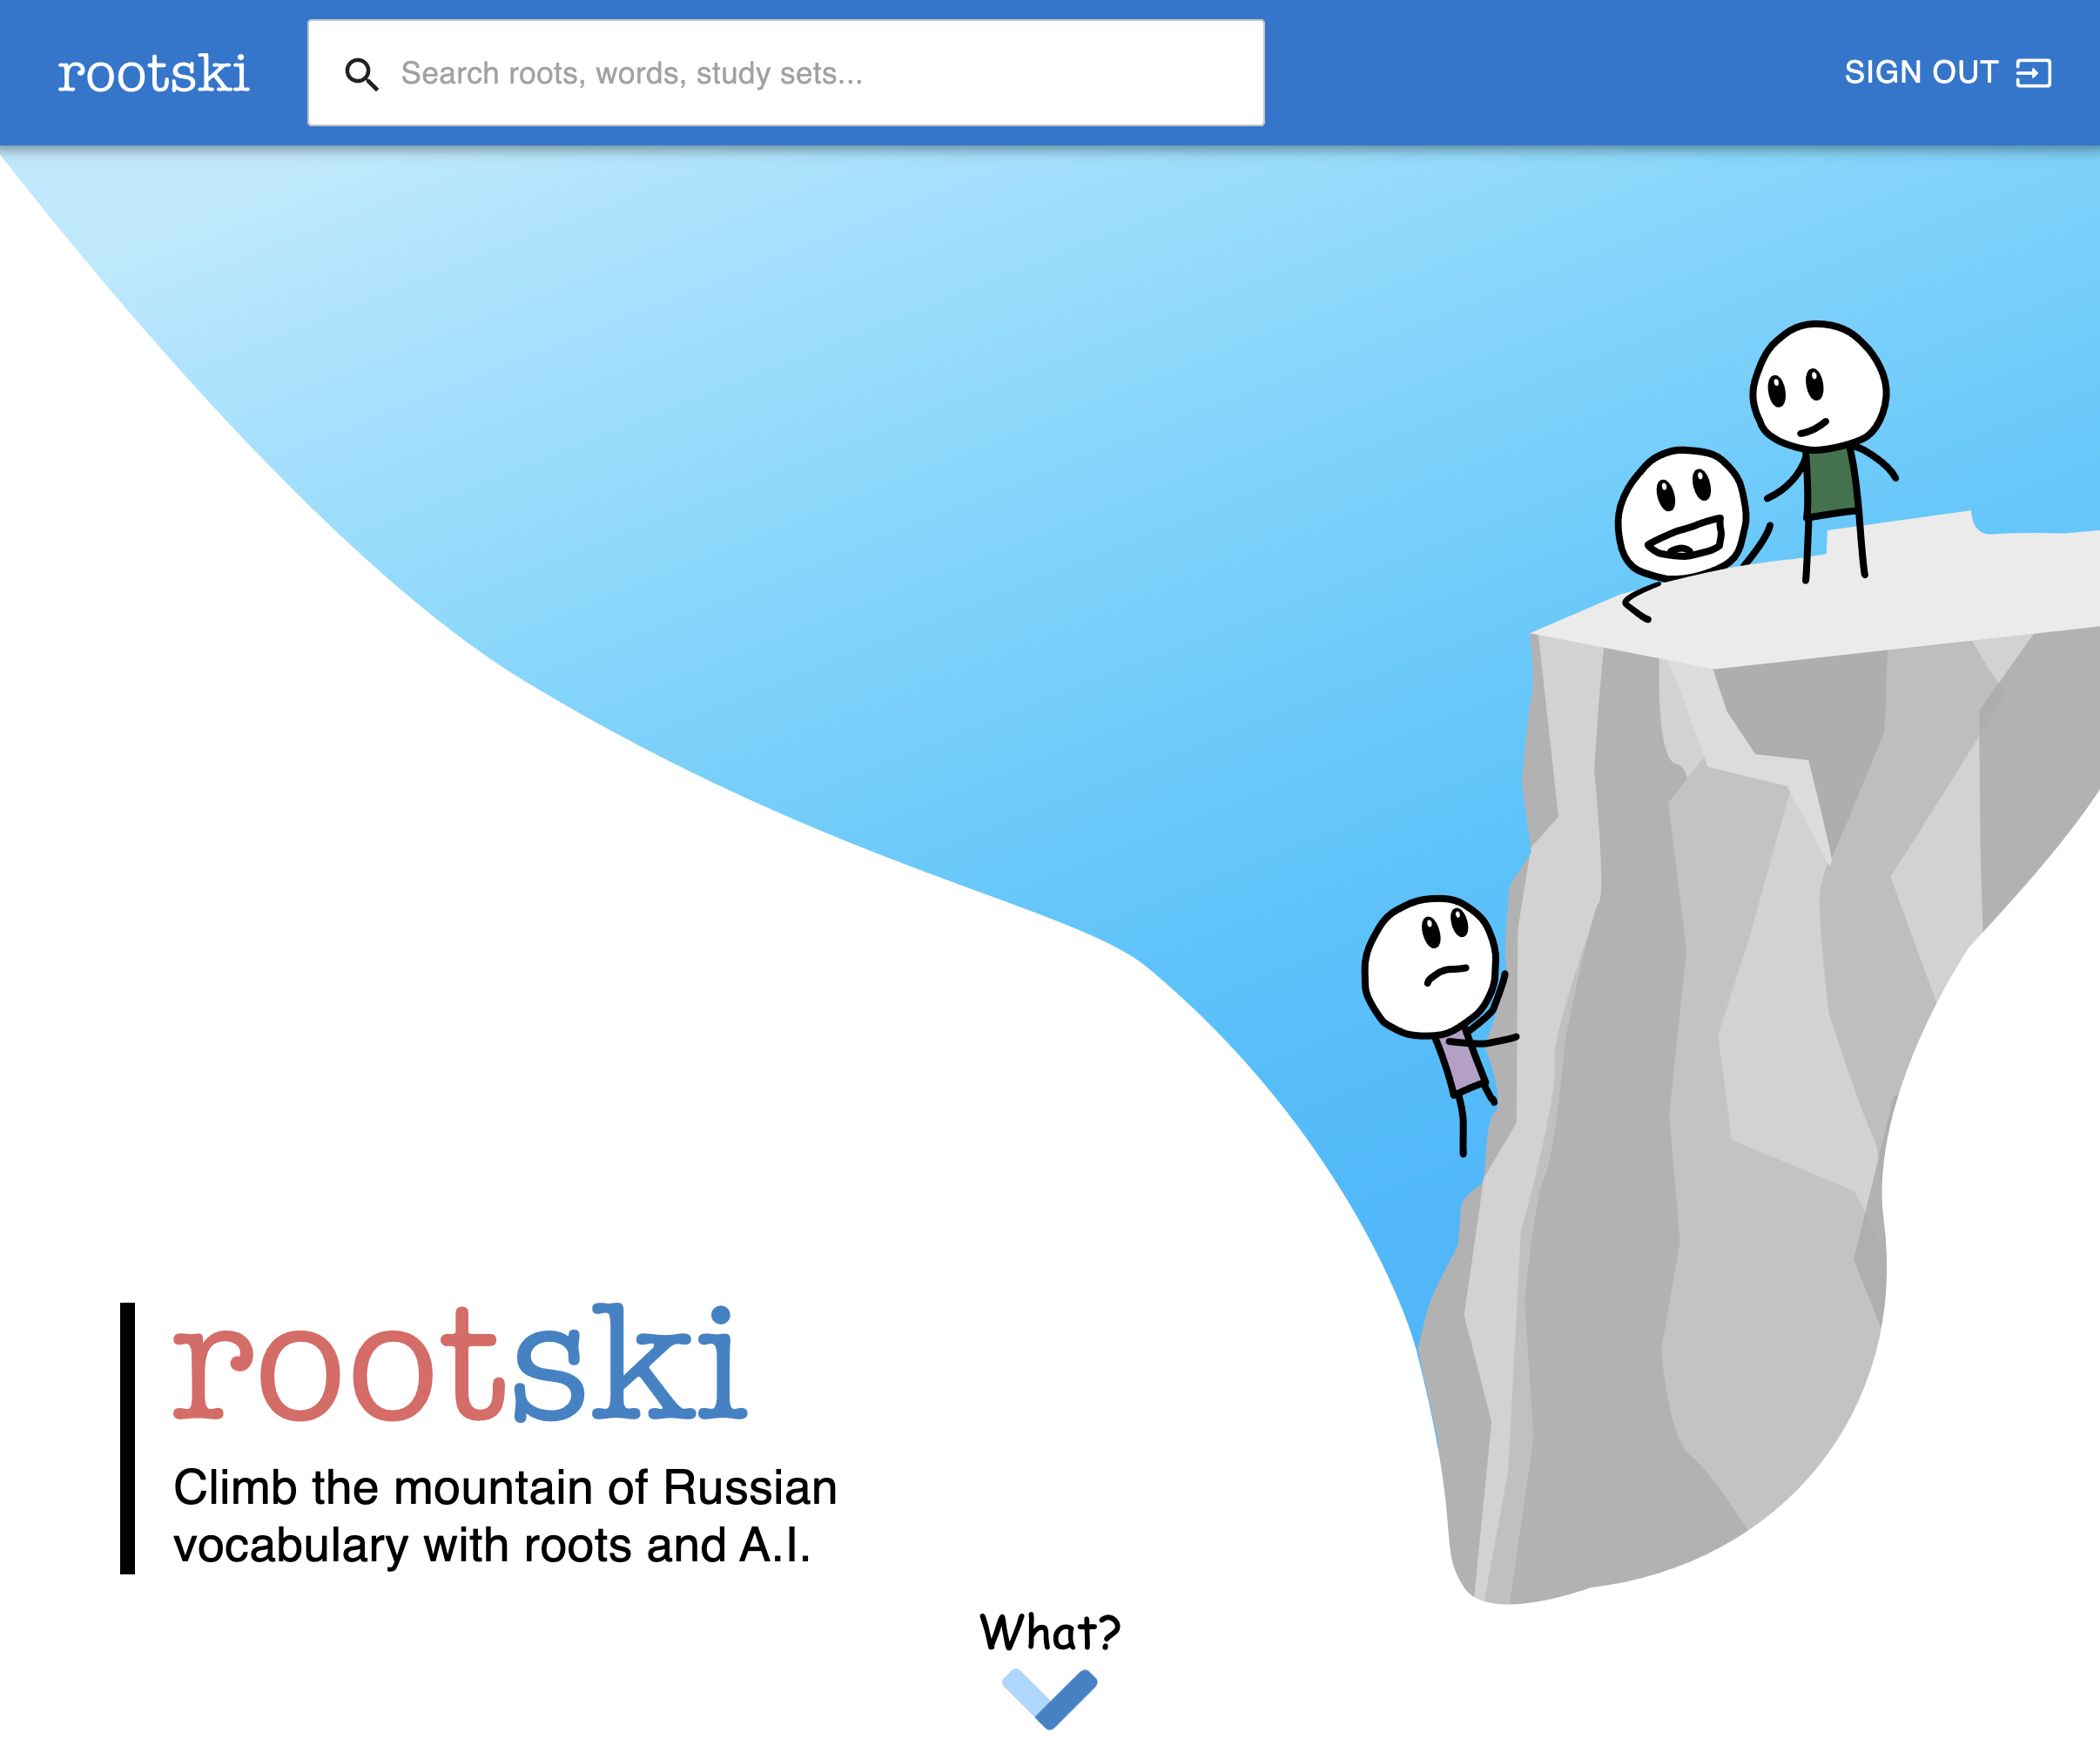
Screenshot of www.rootski.io taken March 12, 2022#
Getting Started#
All the code for the frontend is in the rootski/rootski_frontend/ folder.
Note
You’ll need to have certain dependencies installed on your machine to run the frontend.
NodeJS |
|
|
|
Docker Desktop (or just Docker for Linux) |
|
Python 3.8+ |
You can run these commands to run rootski for development.
# clone the repo and install some makefile dependencies
git clone <rootski repo URL>
cd ./rootski/

# create a python virtual environment to install makefile dependencies
python3 -m venv ./venv/
source ./venv/bin/activate/  # activate the virtual environment
make install  # install make dependendcies into the virtual environment

# (Optional) start a local backend server with a development dataset
cd ./rootski_api/
docker-compose up -d
cd ..
make seed-dev-db

# install dependencies
cd ./rootski_frontend/
npm install

# start the local development server
npm run start
The Frontend Tech Stack#
Here are the main tools we are using to create the frontend:
React |
JavaScript framework for writing re-usable “web-components” |
|
TypeScript |
Language near identical to JavaScript; adds the ability to define types |
|
Material UI |
A library of pre-made web components |
|
Redux |
A “state management” library; we use it carefully! |
|
AWS Cognito |
A user authentication service that lets users create accounts and log in |
Warning
The frontend currently has no testing framework! This is something we want to add.
React with TypeScript#
The rootski front end was created by running
npx create-react-app --template typescript
People talk about “exporting” your React app out of the create-react-app
framework so that you can have more control over how it is configured
(changing Linting, TypeScript rules, the Webpack settings,
and several other things).
For now, we have found the opinionated set of defaults that come with
create-react-app to be helpful. Eventually, we could export
our React app if the majority of frontend contributors feel strongly about
it.
Learning React#
This is a fabulous course on React that is very accessible to beginners.
Note
Before learning React, you should be comfortable with:
JavaScript (specifically using NodeJS with
npm)Basic CSS
HTML

Stephen Grider’s React course on Udemy#
Note
Udemy has sales at least once a week. This course should only be ~$10.
Learning TypeScript#
If you know JavaScript, then TypeScript is very easy to learn. This video covers everything about TypeScript you would need for rootski.
Note
We highly recommend following along with this video on your own computer to make sure you can write and execute TypeScript yourself.
Key things you should understand:
how to install the TypeScript types for typical JavaScript libraries
how to write complex types to document function parameters, classes, objects, union/intersection types, return types, etc.
Material UI#
This is a JavaScript library of React web components that are beautifully styled and easy to use.
Almost all of the UI surface in rootski is created using Material UI components.
Material UI and Design Udemy Course#

Udemy course on Material UI, responsive design, and other useful topics#
Just because you know React does not mean you know how to write good-looking UIs that are responsive and pleasant to use.
A course like this one is a good next step for someone who has learned React, but hasn’t a professional feeling UI before.
If you stick with this course to the end and put your own flair on the project, this would be a fabulous personal project despite coming from an online tutorial.
If you do not want to take this entire course, there are many good YouTube videos on Material UI with TypeScript.
1-video crash course on Material UI#
Mini YouTube course#
This YouTube playlist has small videos dedicated to one MUI topic at a time–such as the MUI grid system.
Redux#
Redux is a “state management” library for React apps.
You can think of Redux as a library that helps you maintain a single, massive global variable with values for your entire React project. This could be things like:
the user who is logged in
which page the user is looking at
settings the user set in their profile
… any other values that are global to the entire app
Global variables are generally bad things, so rootski’s philosophy on
redux is: we should minimize the number of components that directly
depend on the redux state. Prefer passing redux state values
as props to making components directly dependent on redux state.
To learn Redux, you can find free videos or watch the sections on the Udemy course recommended in the Learning React section.
AWS Cognito#
AWS Cognito is a service in AWS that lets us create users and let them log in with Google. Thanks to this service, we don’t have to worry about writing code for:
registering new users
helping users reset their password if they forget it
storing users’ passwords (we never have access to their passwords, which is fantastic!)
The Cognito “Hosted UI”#
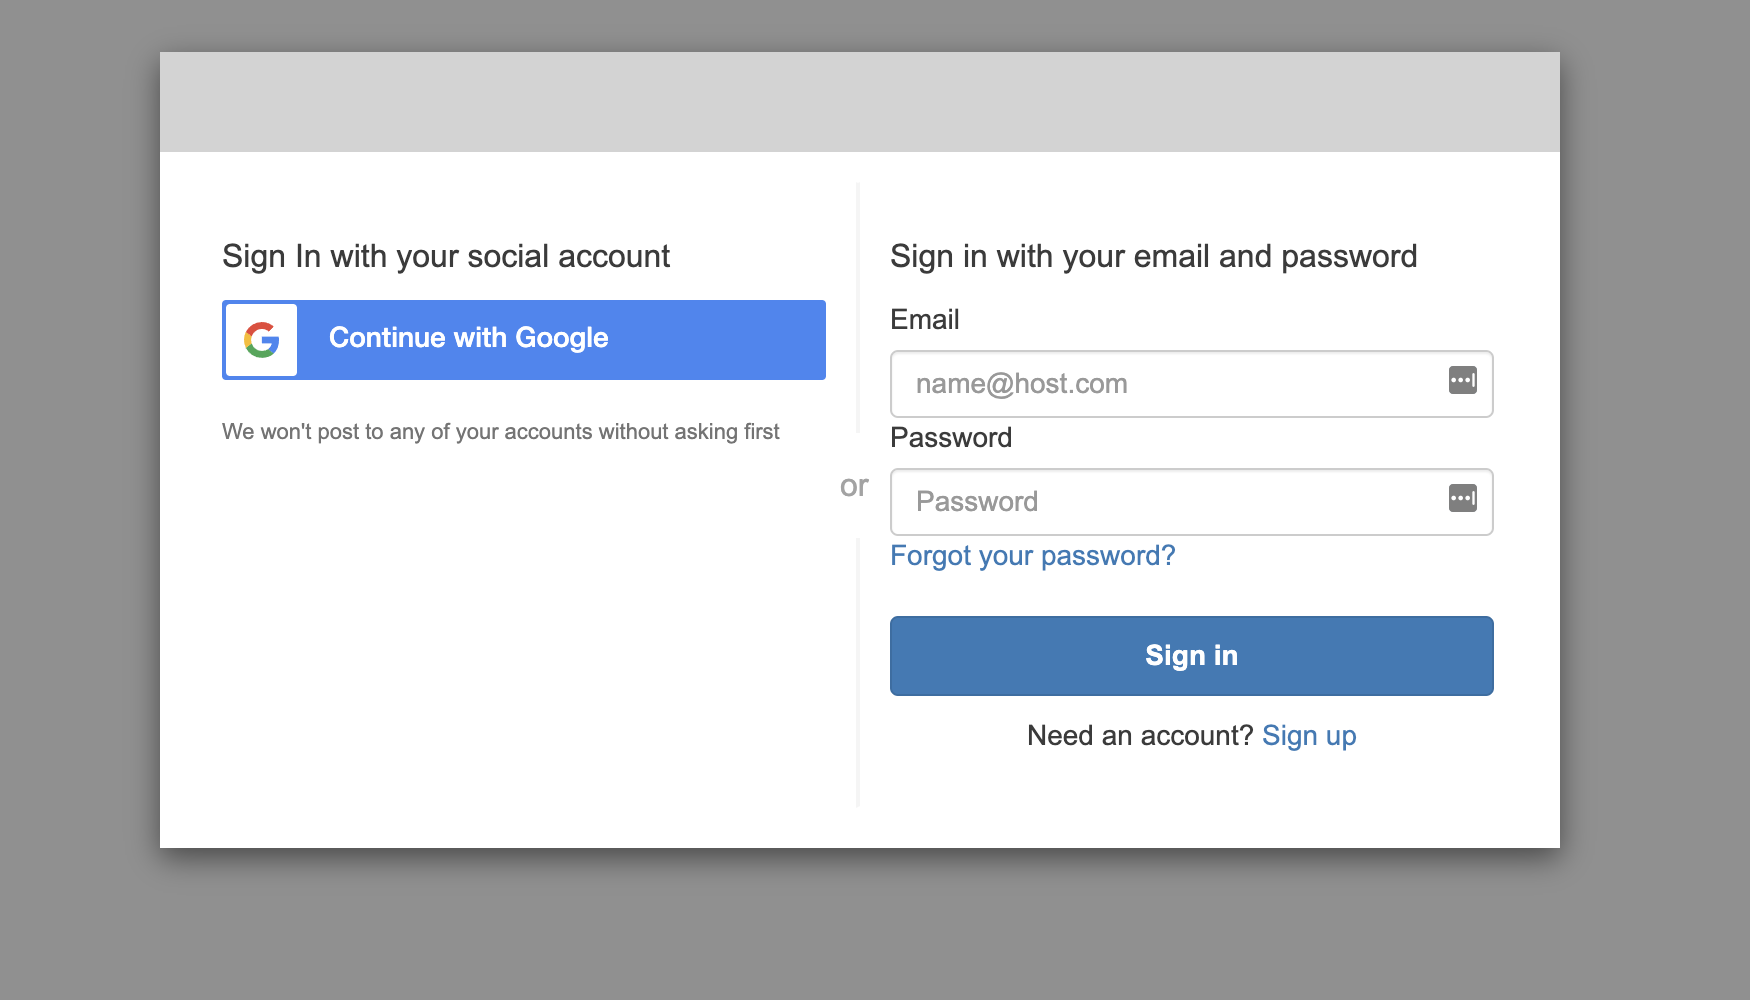
Cognito gives us a “Hosted UI” that we can route users to when the click “Sign up / Sign in”. It looks like this:

AWS Cognito Hosted UI#
JWT tokens#
Once users finish signing in with this UI, they are redirected backed to www.rootski.io, but this time, they have a “JSON Web Token” or “JWT Token” stored in their browser.
In our case, this JWT token is a JSON object with information about the user like their email, and big long hash that we use as proof that they logged in.
Whenever the frontend makes requests to the backend API, it inclues this token in the headers which the backend API uses to decide if the incoming request truly is authorized to request whichever data is being asked for.
{
  "jwtToken": "eyJraWQiOiJ2QlU5akMxOFZZbWhCMDlVT0hWT0NoczlBMTV0XC84KzJUdkFKa1I2K2dqaz0iLCJhbGciOiJSUzI1NiJ9.eyJhdF9oYXNoIjoieGFIeUxIZkZ6RDlsR1hZQVAwcjV6ZyIsInN1YiI6ImQwYzM5NzJjLTBiMGYtNDE3Ny04Y2ZiLTYzNmExNzMzMTUwNSIsImNvZ25pdG86Z3JvdXBzIjpbInVzLXdlc3QtMl9OTUFURmxjVkpfR29vZ2xlIl0sImVtYWlsX3ZlcmlmaWVkIjpmYWxzZSwiaXNzIjoiaHR0cHM6XC9cL2NvZ25pdG8taWRwLnVzLXdlc3QtMi5hbWF6b25hd3MuY29tXC91cy13ZXN0LTJfTk1BVEZsY1ZKIiwiY29nbml0bzp1c2VybmFtZSI6Ikdvb2dsZV8xMTQxNjM0MDIyMTA5NjM3NzQxMzgiLCJvcmlnaW5fanRpIjoiNTlkNDE1YzAtNTQ0Ni00YzAyLTlkOTQtODU3Njk2MmIzZDQxIiwiYXVkIjoiMzV1ZmUxbmsydGFzdWcyZ21ibDVsOW1yYTMiLCJpZGVudGl0aWVzIjpbeyJ1c2VySWQiOiIxMTQxNjM0MDIyMTA5NjM3NzQxMzgiLCJwcm92aWRlck5hbWUiOiJHb29nbGUiLCJwcm92aWRlclR5cGUiOiJHb29nbGUiLCJpc3N1ZXIiOm51bGwsInByaW1hcnkiOiJ0cnVlIiwiZGF0ZUNyZWF0ZWQiOiIxNjI3MTgwNzUyMDkxIn1dLCJ0b2tlbl91c2UiOiJpZCIsImF1dGhfdGltZSI6MTYyNzI0Nzg5MywiZXhwIjoxNjI3MjUxNDk5LCJpYXQiOjE2MjcyNDc4OTksImp0aSI6ImVlN2NkNGNlLTNiMTktNGNhNi05MzM3LTMzNTMzYmEyZmQ3YyIsImVtYWlsIjoiZXJpYy5yaWRkb2NoQGdtYWlsLmNvbSJ9.nJz4ShOABJawb0Iys9jakm0Lqbi0MAXDZWIsaeOi3fnw0PI5ScFzGs7RR3vruehJT02KAFYlTLtbT5jrEPdz67eB3xaTS190l_RAZ0zmO2zTDpu-RVaIa0I4D5F1KesfbHwkZ7X1985UzVW5ZRr9yz8hcPL06sTuvMneWNH_2GdR-xn7XFb8qLkPwKKtF5gH-oQvV0wIW4DdbJ06RMPiHDhv9KaeXRl2l74SZMq8plxpDTB2jii5_-7y-huXSE-oGt0qwgA0m_LzVkTjMa6vgqNoSOsqtnHXdO6b5Q4jCKxH1VD5VzjSrxQQYnFRGPIans7uPgMX1pIsDR8-12m45Q",
  "payload": {
    "at_hash": "xaHyLHfFzD9lGXYAP0r5zg",
    "sub": "d0c3972c-0b0f-4177-8cfb-636a17331505",
    "cognito:groups": [
      "us-west-2_NMATFlcVJ_Google"
    ],
    "email_verified": false,
    "iss": "https://cognito-idp.us-west-2.amazonaws.com/us-west-2_NMATFlcVJ",
    "cognito:username": "Google_114163402210963774138",
    "origin_jti": "59d415c0-5446-4c02-9d94-8576962b3d41",
    "aud": "35ufe1nk2tasug2gmbl5l9mra3",
    "identities": [
      {
        "userId": "114163402210963774138",
        "providerName": "Google",
        "providerType": "Google",
        "issuer": null,
        "primary": "true",
        "dateCreated": "1627180752091"
      }
    ],
    "token_use": "id",
    "auth_time": 1627247893,
    "exp": 1627251499,
    "iat": 1627247899,
    "jti": "ee7cd4ce-3b19-4ca6-9337-33533ba2fd7c",
    "email": "joe.bob@gmail.com"
  }
}
Here are some YouTube videos you can watch to better understand how JWT tokens work.
Note
JWT tokens are the industry stadard for “securing” REST APIs. Getting experience with using them is highly valuable for any engineering-adjacent career.